
How to Paint Interior Doors Without Losing Your Mind
By Brush & Build Brothers ·
Why the Best Way to Paint Interior Doors Is Worth Getting Right
The best way to paint interior doors can turn one of the most overlooked surfaces in your home into a real standout, for less than the cost of a dinner out.
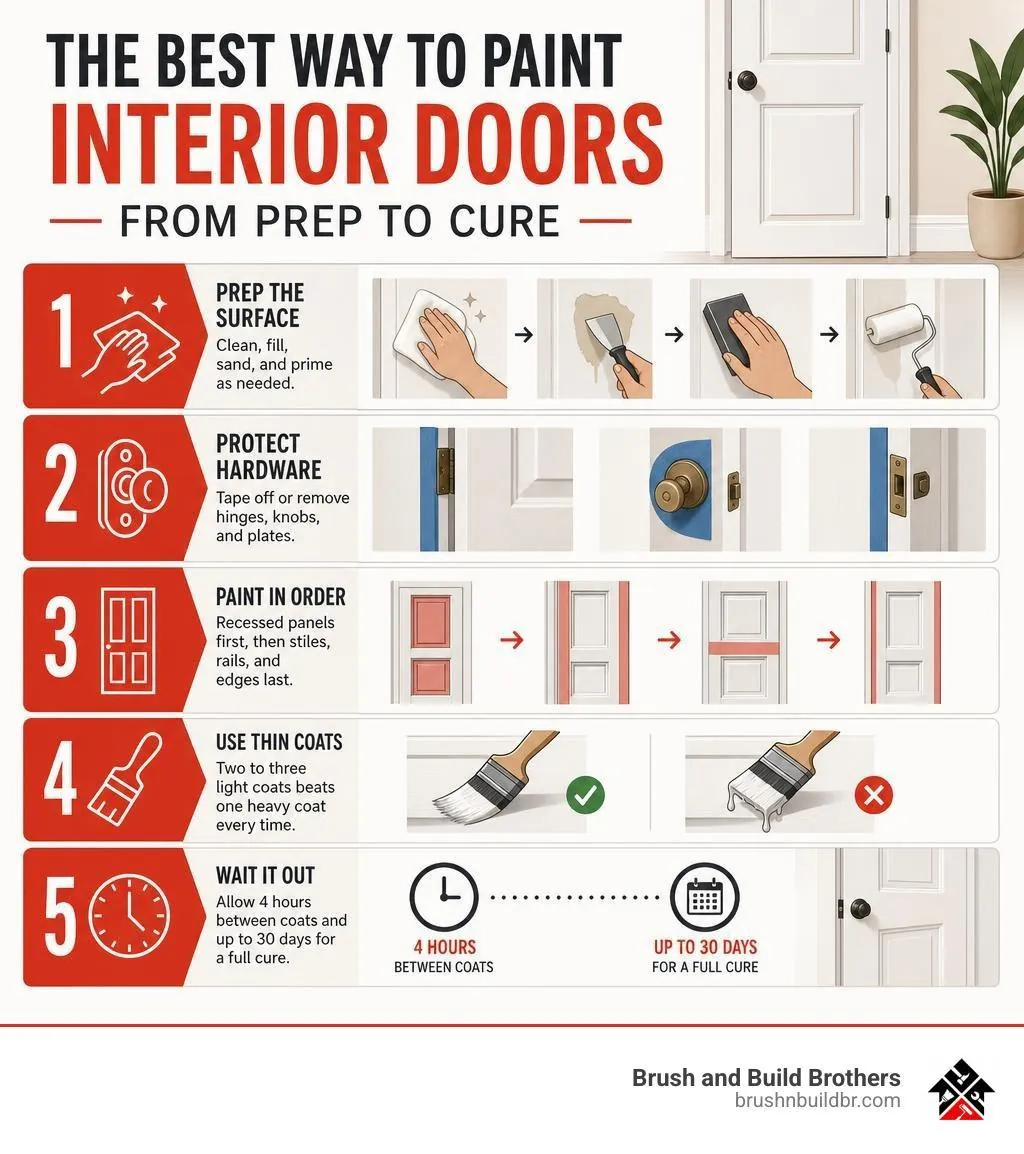
Quick answer: how to paint interior doors the right way
- Prep the surface: clean, fill, sand and prime as needed
- Protect the hardware: tape off or remove hinges, knobs and plates
- Paint in order: recessed panels first, then stiles and rails, edges last
- Use thin coats: two or three light coats beat one heavy coat every time
- Wait it out: allow the recoat time on the label (often about 4 hours) and give the paint weeks, not days, to fully cure
Most people walk past their interior doors every day without noticing them, until the paint starts chipping around the knob, yellowing at the edges or showing every scuff from the vacuum. Then they're very noticeable.
The good news: painting interior doors is one of the highest-impact DIY projects you can take on, and a properly done job lasts for years.
The bad news: a lot of people rush it. They skip prep, overload the brush or close the door too soon, and end up with drips, brush marks or paint that peels within months.
This guide walks you through the whole process, step by step, so you get it right the first time.
To Remove or Not to Remove the Door?
Before you open a can of paint, decide whether to leave the door on its hinges or take it down.
Ask five professional painters and you'll likely get a split decision. The best way to paint interior doors depends on your space, your patience and your tools. Here are both approaches.
When Painting in Place Makes Sense
In a tight space, or if you don't want to wrestle heavy door slabs, painting the door on its hinges is convenient. You skip unhanging and rehanging, and you can paint both sides without waiting for one to dry before flipping the door.
Painting in place does require careful protection. Use quality painter's tape to cover hinges, latch plates and locks.
- The utility knife trick: tape generously over the hinges, then trace the exact edge of the metal with a sharp utility knife and peel away the excess. You get a perfectly protected hinge with no paint bleed.
- The wood shim trick: slide wood shims under the bottom edge to wedge the door in place, so it can't swing and smudge your walls or frame.
- Floor protection: lay heavy canvas drop cloths under the door to catch drips.
When Removing the Door Makes Sense
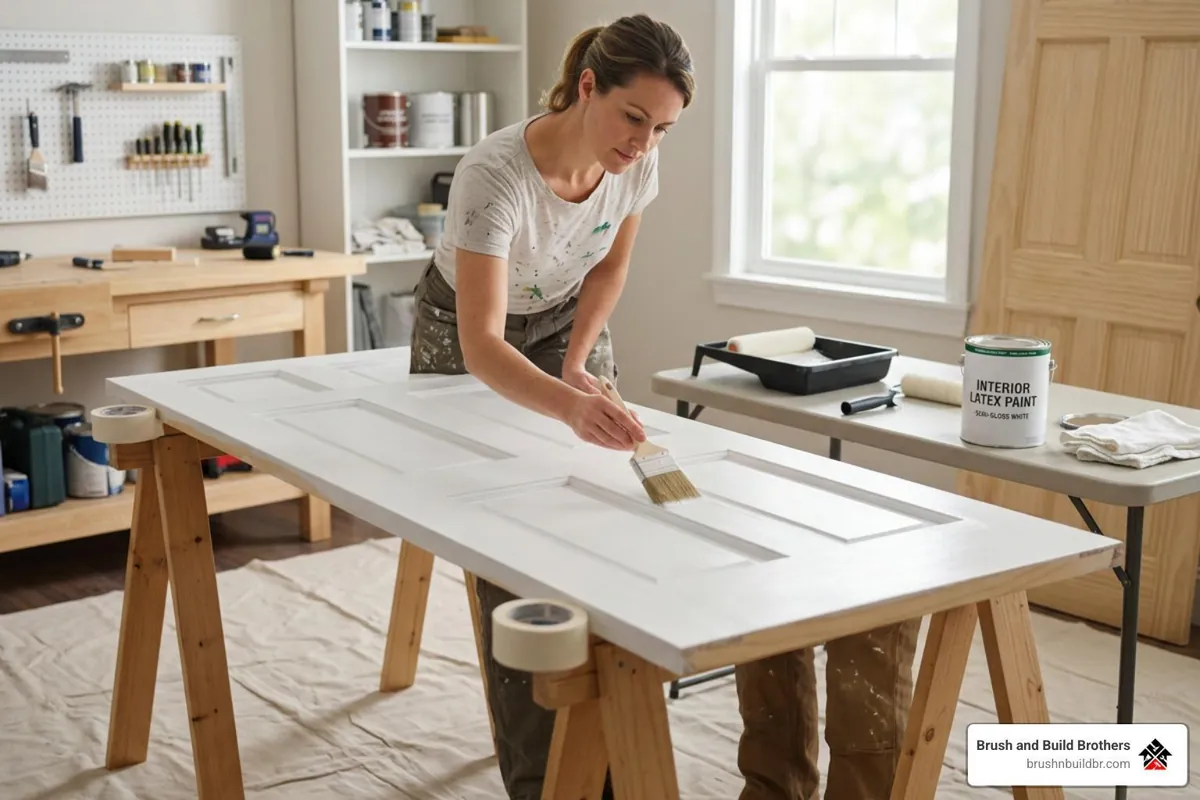
For the smoothest possible finish, taking the door off its hinges is the gold standard. With the door lying flat on sawhorses, gravity works for you: the paint self-levels, which all but eliminates vertical runs, sags and drips.
To remove the door, place a nail at the bottom of the hinge pin and tap it upward with a hammer until the pin pops out. Support the door so it doesn't fall, lift it away and lay it across two sturdy sawhorses.
- Flat first, then upright: with a self-leveling waterborne alkyd paint, apply the coat with the door flat and let it sit for about two hours so the paint flows out and begins to set. Once it's dry to the touch, stand it upright on a hinge stand or lean it safely, which also keeps dust off the wet surface.
- Label the hardware: put each door's knobs and latch parts in a separate, labeled bag so strike plates and spindles don't get mixed up when you reassemble.
Essential Tools and Surface Preparation
Skip the prep and your new paint will eventually chip, peel or show every imperfection underneath. With doors, prep is most of the battle.
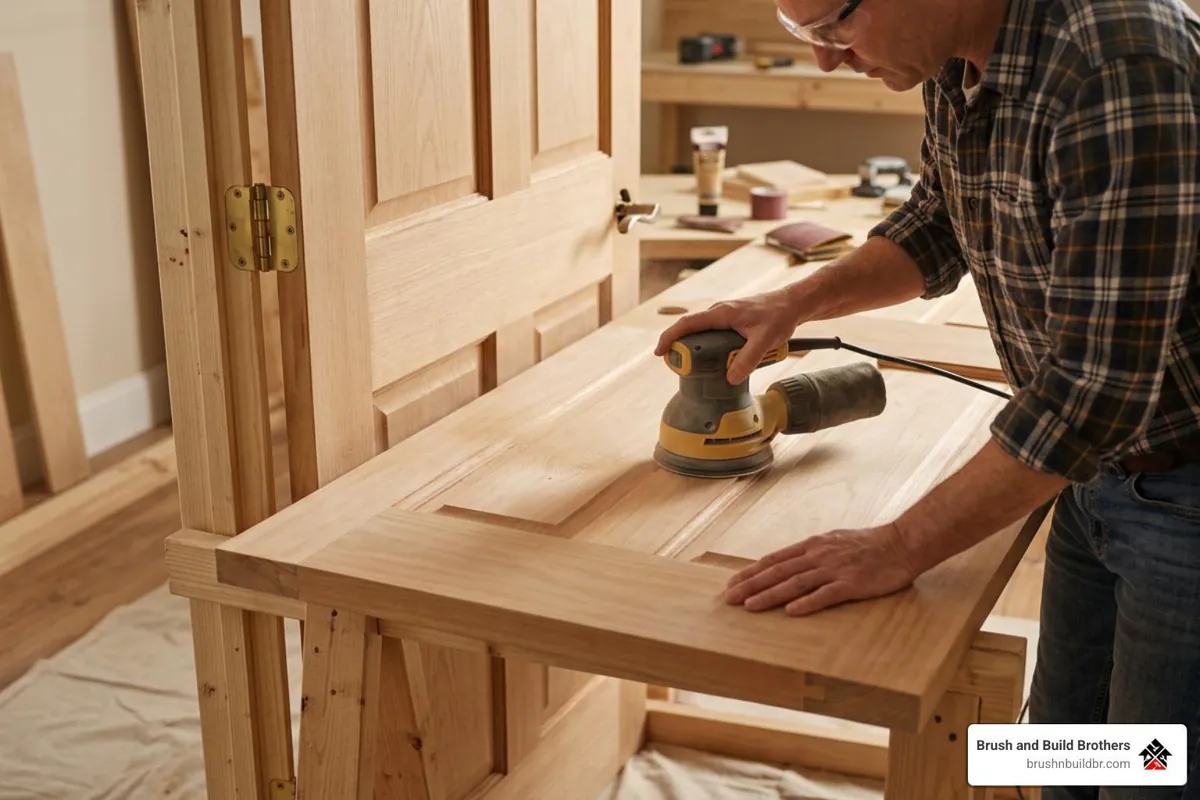
Before you begin, have these tools on hand:
- A quality 2- to 2.5-inch angled synthetic sash brush
- A 4-inch high-density foam roller or a 1/4-inch microfiber roller
- A sanding block or sandpaper (180- and 220-grit)
- A tack cloth for dust removal
- A mild degreasing detergent
- Quality wood filler or spackling
Environmental tip: rinsing brushes under running water wastes a lot of water. Wash them in a small container instead, or, if you're painting again tomorrow, wrap the brush tightly in plastic and keep it in the refrigerator overnight so the paint stays wet.
Cleaning and Repairing Imperfections
Doors are high-touch surfaces. Over the years they collect skin oils, fingerprints, dust and grime, especially around the handle and along the bottom rail.
- Wash the door: scrub it with a mild degreasing soap (like dish soap or sugar soap) and warm water, rinse with a clean damp cloth and let it dry completely.
- Fill the dents: fill gouges, deep scratches and old screw holes with wood filler, leaving it slightly overfilled to allow for shrinkage.
- Sand the repairs: once the filler is dry, sand those spots flush with a 180-grit block until you can't feel the transition with your fingertips.
Sanding and Priming for Maximum Adhesion
Sanding isn't about stripping the old paint; it's about scuffing the surface to create a microscopic texture (or 'tooth') the new paint can bond to.
- Sanding: lightly scuff the whole door with 220-grit sandpaper, working with the wood grain. Vacuum the heavy dust and wipe the door down with a tack cloth.
- Lead paint warning: if your home was built before 1978, the existing paint may contain lead. Test before sanding and follow lead-safe work practices.
- Oil vs. latex test: rub a small spot with a rag dipped in rubbing alcohol. If paint comes off on the rag, it's latex; if nothing comes off, it's likely oil-based.
If you're painting latex over old oil-based paint, apply a quality bonding primer first, or the new paint can peel off in sheets.
| Door Material / Existing Finish | Recommended Primer | Why It Matters |
|---|---|---|
| Bare wood or MDF | Oil-based or high-build latex primer | Seals porous wood and prevents grain raising |
| Pre-primed doors | None (or light spot-priming) | Ready for paint after a quick scuff sand |
| Existing glossy or oil paint | High-adhesion bonding primer | Helps the new topcoat grip the slick surface |
| Dark-to-light color change | Tinted acrylic primer | Blocks the dark color and reduces the coats needed |
Choosing the Right Paint, Sheen and Color
Cheap wall paint on a door is a recipe for disaster. Doors are constantly touched, slammed and cleaned, so they need trim and door enamels that dry hard and resist blocking (wet paint sticking to the door frame).
Modern water-based alkyd or urethane acrylic enamels are a great choice. They level smoothly like traditional oil paint but clean up with water and resist yellowing. If you'd rather leave doors and trim to a pro, our Charlotte interior painting team can help you choose and apply the right products.
Selecting the Right Sheen and Color
Sheen affects both durability and the final look:
- Semi-gloss: the traditional choice. Easy to wipe clean, moisture-resistant, and a nice contrast against flatter wall finishes.
- Satin: a modern favorite. Softer and more contemporary, it hides minor surface imperfections better than semi-gloss while staying durable.
Classic white is always safe, but bold interior doors are a major design trend. Deep charcoal, navy and even black doors (such as Benjamin Moore Wrought Iron or Sherwin-Williams Tricorn Black) add architectural interest and warmth, and they hide fingerprints in busy hallways.
Thinking about a bold new palette? Our Concord interior painting team can help.
Step-by-Step Painting Technique for a Smooth Finish
For a smooth, brush-mark-free finish without a paint sprayer, combine a quality angled brush with a small foam roller.
The secret is to work quickly, keep a wet edge (never brush back into paint that has started to dry), and apply several thin coats rather than one thick one.
The Golden Order for Painting Paneled Doors
On a paneled door, don't just start at the top and work down. To avoid heavy edges and visible brush marks, follow this sequence:
- Bevels and recesses: use the angled sash brush on the molded profiles around the panels, with light strokes feathered out onto the flat surfaces.
- Flat panels: immediately roll the flat centers of the panels with the foam roller.
- Center stiles: roll the vertical sections between the panels.
- Rails: roll the horizontal top, middle and bottom rails, feathering your strokes where they meet the stiles.
- Outer stiles: roll the long vertical stiles on the far left and right.
- Edges: paint the outer edges of the door last.
Pro tip on door edges: only paint the edges that show when the door is open. If the door opens into a room, paint the hinge edge that room's color; if it swings away, paint the latch edge the color of the adjacent room.
Drying, Curing and Reassembly
Patience is your greatest asset in this phase.
- Drying time: wait at least the label's recoat time, often about 4 hours, before the second coat. Slow-drying waterborne alkyds can have recoat windows of up to 16 hours.
- Sanding between coats: before the final coat, run your hand over the door. If you feel dust nibs or tiny ridges, lightly de-nib with 320-grit sandpaper, wipe with a tack cloth and apply the final coat.
- Curing time: paint can feel dry in a few hours but takes days to weeks to reach full hardness, depending on the product.
- Felt bumpers: to keep the door from sticking to the frame and peeling fresh paint, put small clear felt bumpers on the door stop before closing it completely.
If you'd rather have your doors painted and rehung by a professional crew, our Matthews interior painting team is ready to help.
Frequently Asked Questions About Painting Interior Doors
Do I need to sand a pre-primed door before painting?
Yes. Pre-primed doors don't need a separate primer coat, but they often have a slightly rough factory texture. A quick, light scuff with 220-grit sandpaper smooths it out so the topcoat lays down flat and adheres well. Wipe away the dust with a tack cloth before painting.
How do I keep painted doors from sticking?
Sticking happens when paint is dry to the touch but not yet cured underneath. To prevent it:
- Apply thin, even coats rather than heavy ones.
- Keep the door slightly ajar for at least 24 to 48 hours after painting.
- Lightly sand the latch edge if the clearance in your frame is very tight.
- If you must close the door, put a strip of wax paper between the door edge and the frame so the paint can't bond.
How many coats do interior doors need?
Most interior doors need two full coats of quality paint for durable, even coverage. For a dramatic color change, like dark wood doors to white or white to deep black, plan on three thin coats plus a primer coat.
Conclusion
A smooth, professional finish on interior doors doesn't take magic, just the right tools, some patience and a commitment to preparation. Clean, sand and paint in the right order, and you can transform the look of your home.
If unhanging, sanding and painting a houseful of doors sounds overwhelming, we're here to help. Brush & Build Brothers serves homeowners across Charlotte and nearby areas, including Matthews, Mint Hill, Huntersville, Concord, Belmont and Monroe, with premium materials, expert craftsmanship and reliable, on-time service, backed by our 1-year workmanship warranty.
Ready to elevate your home's style? Contact us to learn more about our Interior Painting Services and get a free estimate.